- 配置MySQL Router文件。
- 编辑文件。
1vim /etc/mysqlrouter/mysqlrouter.conf - 用以下内容替换全文。
[DEFAULT]
logging_folder = /var/log/mysqlrouter
runtime_folder = /var/run/mysqlrouter
config_folder = /etc/mysqlrouter

[logger]
level = INFO

# If no plugin is configured which starts a service, keepalive
# will make sure MySQL Router will not immediately exit. It is
# safe to remove once Router is configured.
[keepalive]
interval = 60

# 以下选项可用于路由标识的策略部分
[routing:basic_failover]
# Router地址
bind_address = 192.168.53.22
# Router端口
bind_port = 7001
routing_strategy = first-available
# 目标服务器
destinations = 192.168.53.22:3306,192.168.53.22:3307
connect_timeout = 2

[routing:load_balance]
# Router地址
bind_address = 192.168.53.22
# Router端口
bind_port = 7002
routing_strategy = round-robin
# 目标服务器
destinations = 192.168.53.22:3306,192.168.53.22:3307,192.168.53.22:3308
connect_timeout = 1
- 按“Esc”键,输入:wq!,按“Enter”保存并退出编辑。
- 编辑文件。
- 启动MySQL Router。
- 查询mysqlrouter的进程ID。
1ps -ef|grep mysqlrouter

- 关闭mysqlrouter的进程。
1kill -9 72890
- 启动mysqlrouter。
1mysqlrouter &
- 确认是否启动成功。
1
2
netstat -an|grep 7001
netstat -an|grep 7002

回显内容与图片内容一致,则表示已正常启动。
- 查询mysqlrouter的进程ID。
- 执行查询测试。
- 编辑文件。
1vim /home/read_7001.sh - 替换如下内容。
1
2
3
4
5
#!/bin/bash
for i in {1..1000}
do
/usr/local/mysql/bin/mysql -uroot -p123456 -P7001 -h192.168.53.22 -e "select @@report_host"
done
- 按“Esc”键,输入:wq!,按“Enter”保存并退出编辑。
- 执行读请求脚本。
1sh /home/read_7001.sh
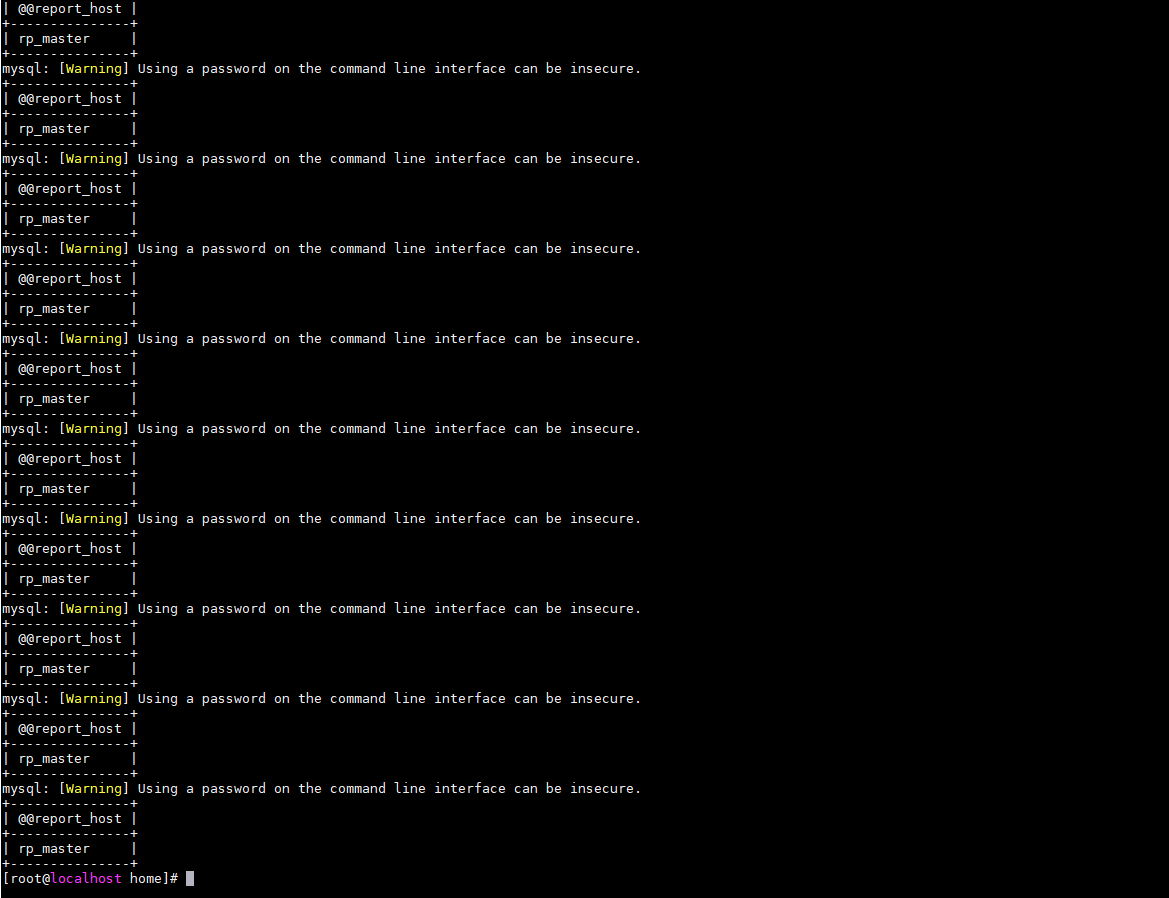
从上图可以发现,只要是7001端口的读请求,会全部发送到第一个目标192.168.53.22:3306 master(主库)。
- 编辑文件。
1vim /home/read_7002.sh - 替换如下内容。
1
2
3
4
5
#!/bin/bash
for i in {1..1000}
do
/usr/local/mysql/bin/mysql -uroot -p123456 -P7002 -h192.168.53.22 -e "select @@report_host"
done
- 按“Esc”键,输入:wq!,按“Enter”保存并退出编辑。
- 执行读请求脚本。
1sh /home/read_7002.sh
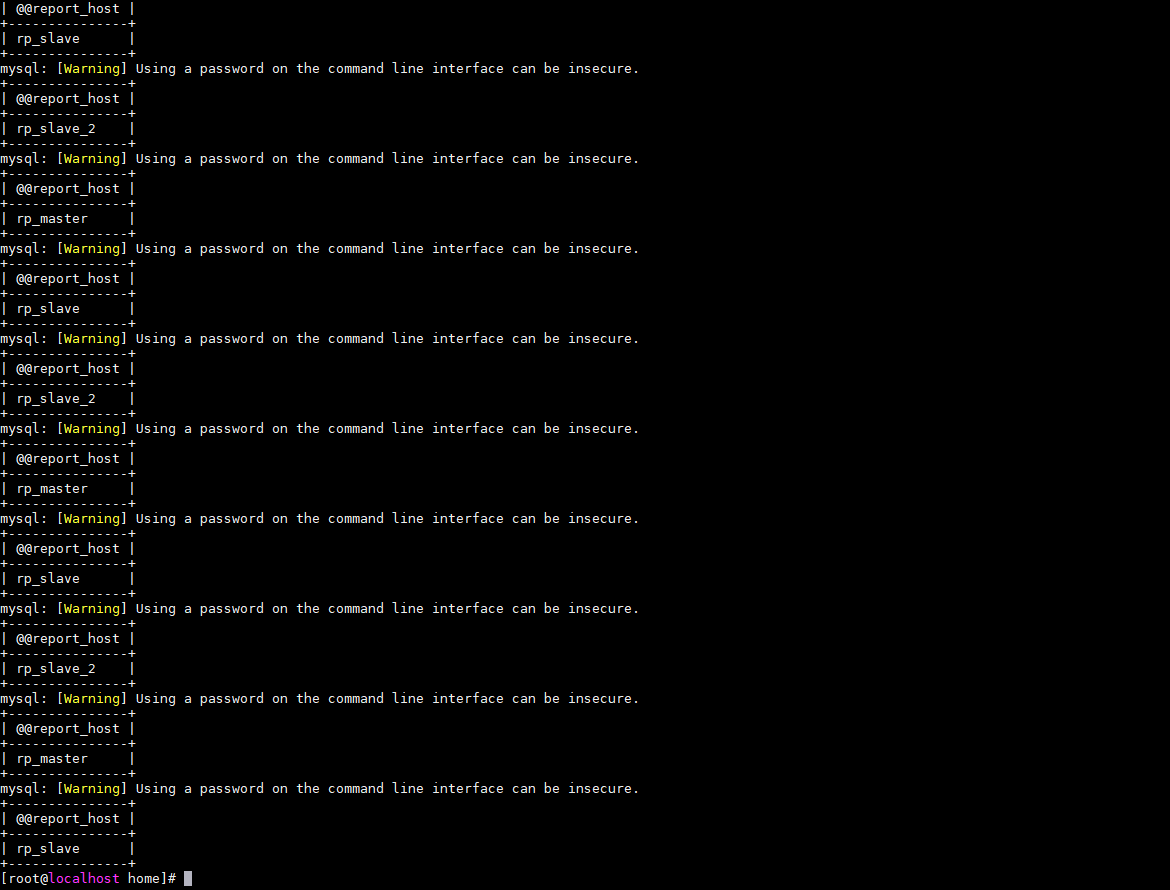
从上图可以发现,只要是7002端口的读请求,会被轮询的发送到3个MySQL服务器,从而达到读负载均衡的目的。
- 编辑文件。
- 执行写入测试。
- 编辑文件。
1vim /home/write_7001.sh - 替换如下内容。
1
2
3
4
5
#!/bin/bash
for i in {1..2000}
do
/usr/local/mysql/bin/mysql -uroot -p123456 -P7001 -h192.168.53.22 -Dsysbench -e "insert into test1(id,report_hostname) values($i,@@report_host)"
done
- 按“Esc”键,输入:wq!,按“Enter”保存并退出编辑。
- 执行写请求脚本。
1sh /home/write_7001.sh - 确认测试数据。
1/usr/local/mysql/bin/mysql -uroot -p123456 -P7001 -h192.168.53.22 -Dsysbench -e "select * from test1"

从上图可以发现,只要是7001端口的写请求,都会发送到第一个目标192.168.53.22:3306 master(主库)执行。
从以上的实验可以看出,只要将写请求发送到7001端口,读请求发送到7002端口,就可以实现读写分离。
- 编辑文件。
- 搭建双主复制。
参考初始化MySQL数据库,主库1为192.168.53.22:3309,主库2为192.168.53.22:3310。
- 在这两个的数据库参数配置文件上分别加入如下配置。
1
2
auto_increment_increment=2
auto_increment_offset=1
master2加入:
1
2
auto_increment_increment=2
auto_increment_offset=2

auto_increment_increment、auto_increment_offset一般用在主主同步中,用来错开自增值,防止键值冲突。
MySQL主从复制方案请参见《MySQL 主从复制部署指南》中“半同步复制”和“并行复制”章节,将主从搭建反过来再搭建一遍。
- 配置MySQL Router文件。
- 编辑文件。
1vim /etc/mysqlrouter/mysqlrouter.conf - 替换全文。
 1
 2
 3
 4
 5
 6
 7
 8
 9
10
11
12
13
14
15
16
17
18
19
20
21
22
23
[DEFAULT]
logging_folder = /var/log/mysqlrouter
runtime_folder = /var/run/mysqlrouter
config_folder = /etc/mysqlrouter

[logger]
level = INFO

# If no plugin is configured which starts a service, keepalive
# will make sure MySQL Router will not immediately exit. It is
# safe to remove once Router is configured.
[keepalive]
interval = 60

[routing:load_balance]
# Router地址
bind_address = 192.168.53.22
# Router端口
bind_port = 7001
routing_strategy = round-robin
# 目标服务器
destinations = 192.168.53.22:3309,192.168.53.22:3310
connect_timeout = 1
- 按“Esc”键,输入:wq!,按“Enter”保存并退出编辑。
- 编辑文件。
- 创建测试数据库和测试表。
- 连接MySQL数据库主库1。
1/usr/local/mysql/bin/mysql -uroot -p123456 -S /data/mysql/run/mysqlm1.sock
- 创建测试数据库和表。
1
2
3
4
5
6
7
create database sysbench;
use sysbench;
CREATE TABLE `test1` (
  `id` bigint(20) NOT NULL,
  `report_hostname` varchar(100) DEFAULT NULL,
  PRIMARY KEY (`id`)
) ENGINE=InnoDB DEFAULT CHARSET=latin1;
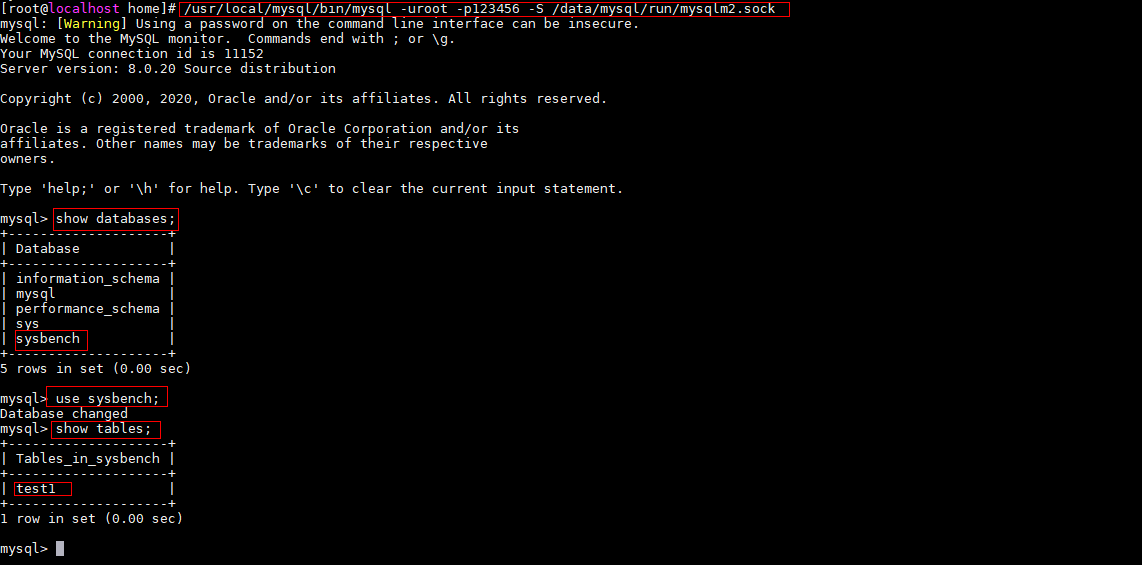
- 确认数据是否同步到主库2。
1
2
3
4
/usr/local/mysql/bin/mysql -uroot -p123456 -S /data/mysql/run/mysqlm2.sock
show databases;
use sysbench;
show tables;

- 连接MySQL数据库主库1。
- 启动MySQL Router。
- 先查出mysqlrouter的进程ID。
1ps -ef|grep mysqlrouter

- 关闭mysqlrouter的进程。
1kill -9 72890
- 启动mysqlrouter。
1mysqlrouter &
- 确认是否启动成功。
1netstat -an|grep 7001

回显内容与图片内容一致,则表示已正常启动。
- 先查出mysqlrouter的进程ID。
- 执行写入测试。
1sh /home/write_7001.sh - 确认测试数据。
1/usr/local/mysql/bin/mysql -uroot -p123456 -P7001 -h192.168.53.22 -Dsysbench -e "select * from test1"

从以上实验可以看出,对于读写负载均衡,则需要配置双主复制,路由策略只需要配置为round-robin模式,表示路由方式为“轮询”,正如上面测试所知,都是以轮询的方式进行读写,从而实现简单的读写负载均衡。
- 在这两个的数据库参数配置文件上分别加入如下配置。